Ergonomics: How to Set Up a Sit Stand Desk and Reduce Pain
Switching to a sit stand desk can be liberating, if you set it up right. The goal is simple: keep your spine neutral, wrists relaxed, and change position frequently so aches don’t creep in. Here’s a practical, no nonsense guide that works whether you have an electric standing desk, a height adjustable desk, or a budget standing desk converter.
Quick setup (what actually matters)
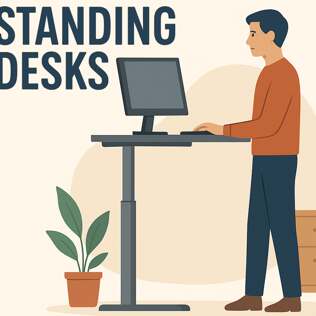
- Screen height: place the top of the monitor at or just below eye level, about an arm’s length away. If you use a laptop, add a laptop stand for desk and an external keyboard and mouse.
- Keyboard and mouse: set the keyboard at elbow height so forearms are parallel to the floor; wrists should float, not rest on the edge.
- Desk height: when standing, elbows should form roughly a 90 degree angle; for sitting, hips slightly higher than knees feels best.
- Feet: wear supportive shoes and consider an anti fatigue mat; a small footrest helps when seated.
Reduce pain with habit and accessories
Alternate positions often, start with 20 to 40 minutes standing every hour, then tune it to comfort. Use an adjustable standing desk or electric desk to make transitions effortless. If neck pain appears, lower or raise the screen; if lower back twinges, check that your chair supports your lumbar curve when seated. Cable clutter and wrong monitor angle can force awkward postures, so tidy cables and pivot monitors as needed.
Small investments, like a good chair, a standing desk chair, or a quality monitor arm, pay back in less stiffness and fewer headaches. Brands and models vary, from IKEA to Flexispot to Jarvis, but the setup principles remain the same: alignment, support, movement. Follow them and your sit and stand desk will stop being an experiment and become a real solution for reducing pain. #standingdesk #ergonomics #sitstand

